Configuring webhooks
Enhance your workflow by connecting Onvocado with webhooks. This integration enables real‑time data delivery, automated event responses, and customizable data handling for smoother operations.
- Written by Onvocado Staff |
- February 05, 2025
Before diving into the detailed steps for setting up webhooks in Onvocado, let’s explore the unique capabilities and advantages that webhooks bring to your operations:
Instantaneous Data Transmission
Webhooks operate in real time—dispatching data the moment an event occurs. As soon as a visitor interacts with your Onvocado campaign, the data is sent immediately to your endpoint, keeping your systems always up-to-date.
Event-Driven Automation
With webhooks, your applications react instantly to specific triggers, whether it’s a new lead or a survey response. This event-driven model allows you to create automated workflows that adapt to every user action in real time.
Flexibility and Customization
Webhooks offer a flexible architecture that lets you tailor data payloads to your needs. Define exactly what data to send and how to structure it, integrating seamlessly with any system that accepts HTTP POST requests.
Below is a step‐by‐step guide on how to set up a webhook in Onvocado. This integration allows you to send real‑time data from your campaigns directly to any endpoint you choose—perfect if you need to connect Onvocado with your favorite marketing, CRM, or analytics tool.
Step 1: Access Your Campaign Settings
- Log In to Your Onvocado Dashboard:
Head over to your Onvocado account and log in using your credentials.
Choose Your Campaign:
On the main dashboard, select the campaign for which you want to enable a webhook. Once you’ve chosen your campaign, click the ‘Edit’ dropdown.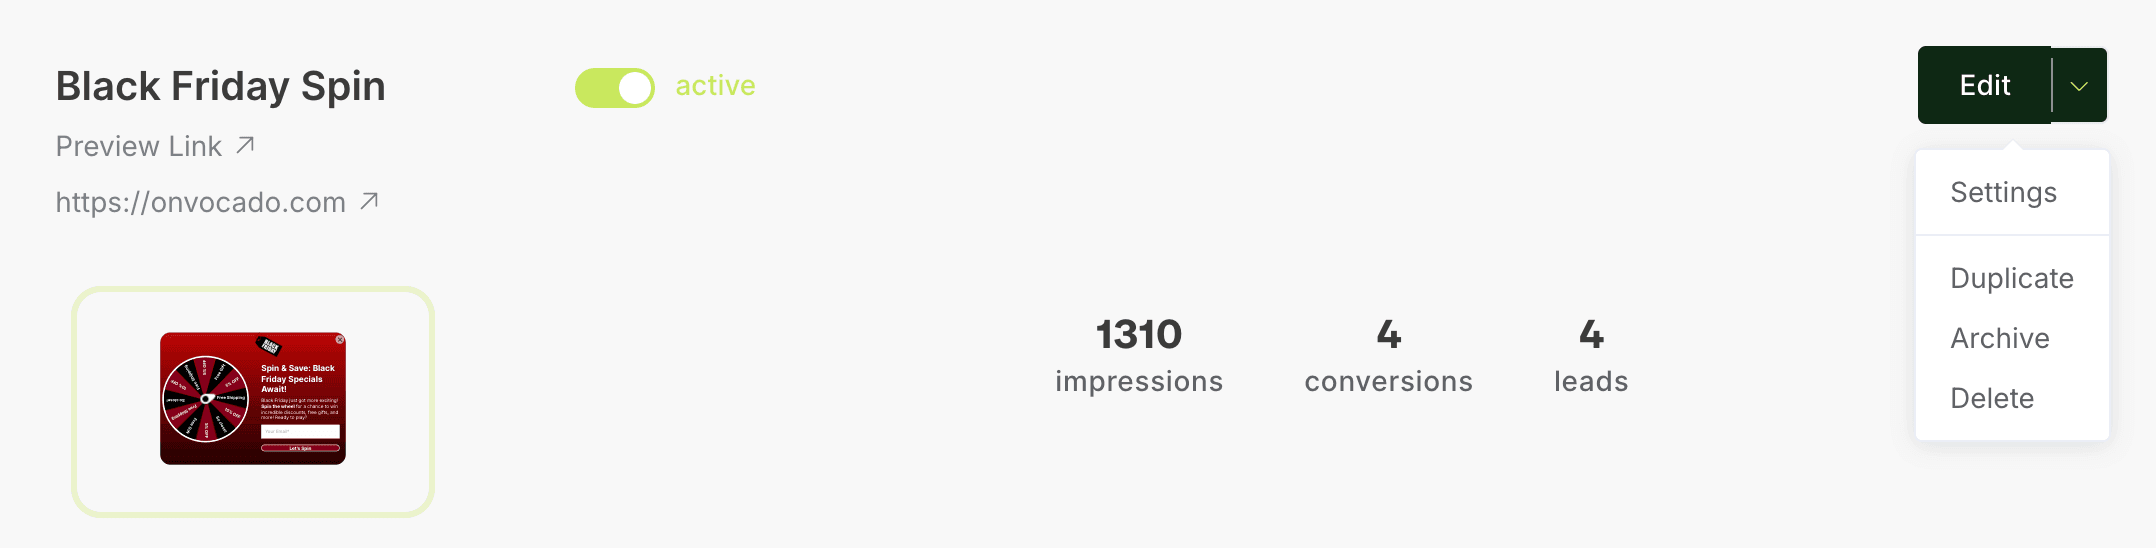
Navigate to Settings:
In the dropdown menu, select "Settings" to access the configuration options for your chosen campaign.Tip: Make sure you’re editing the correct campaign if you manage multiple campaigns on your account.
Step 2: Set Up the Webhook Integration
- Scroll to Integrations:
Within the settings menu, scroll down until you find the Integrations section.
- Add a New Webhook:
Click on "Add Webhook". This will open the Webhook Settings Menu, where you can define the parameters for your webhook.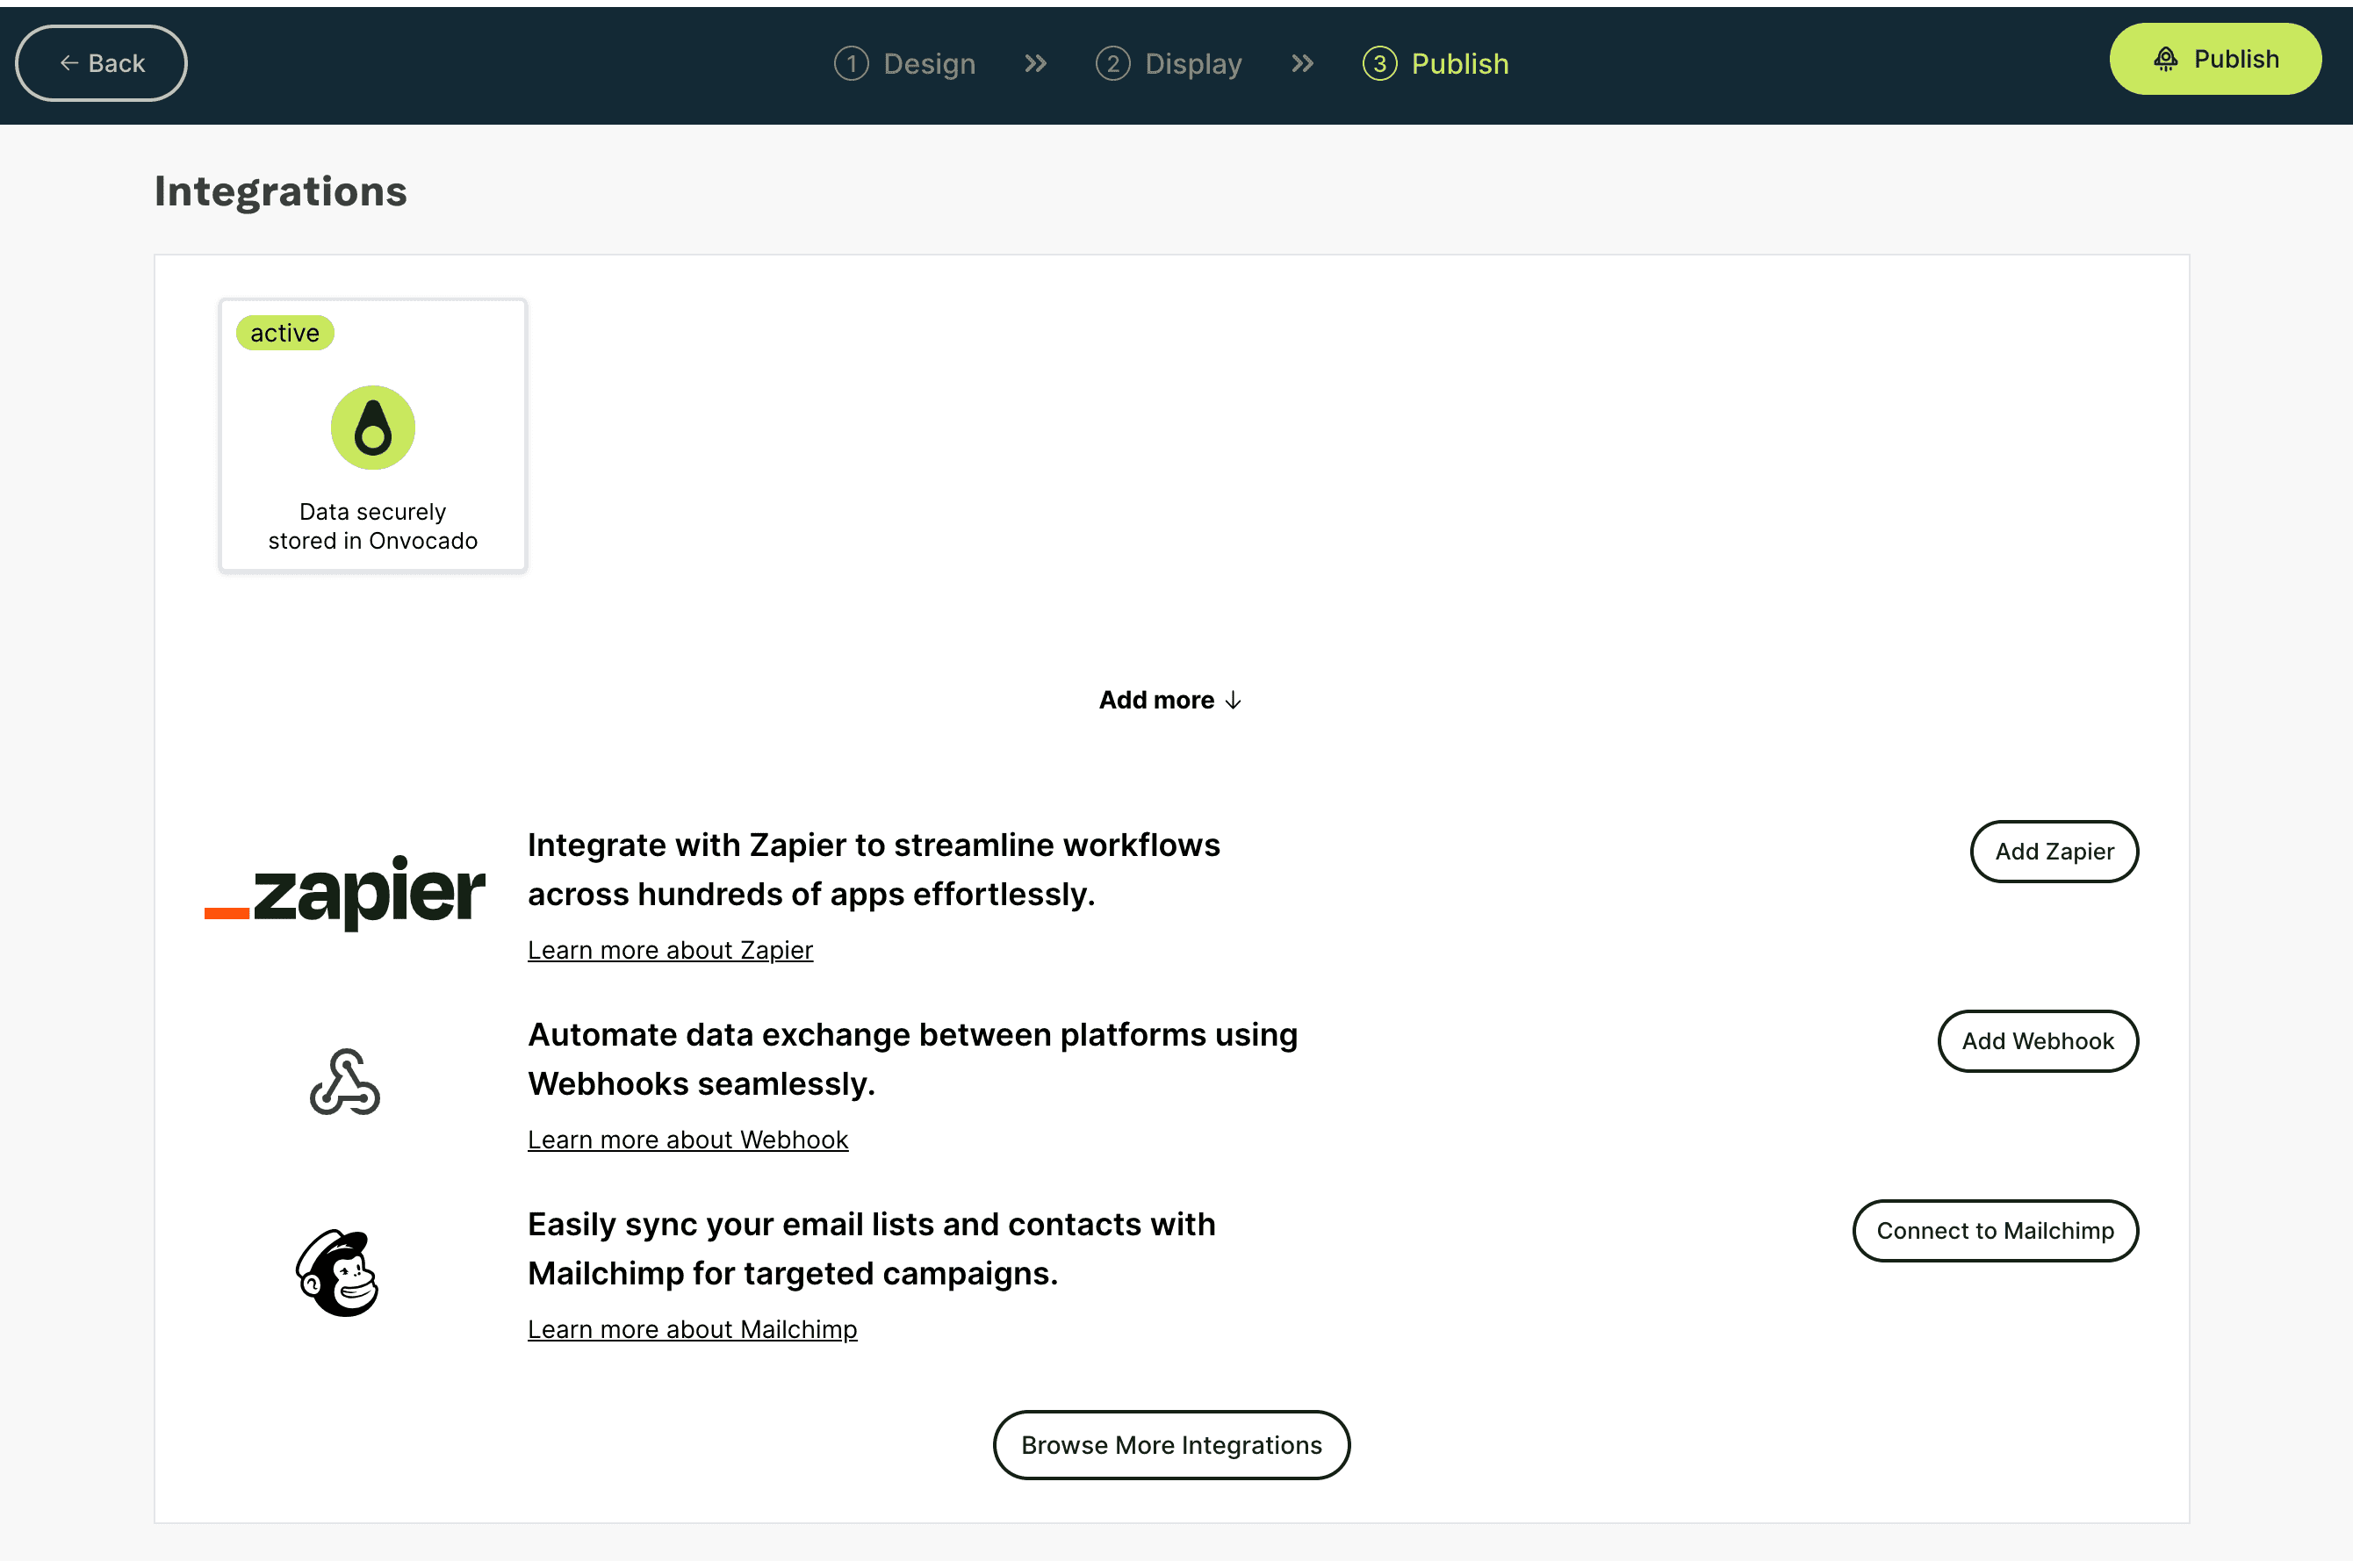
Configure the Webhook Settings:
- Name: Give your webhook a descriptive name. This name will help you identify the integration later on.
- URL: Enter the URL where you want the data to be sent. For this example, we’ll use an example endpoint from webhook.site.
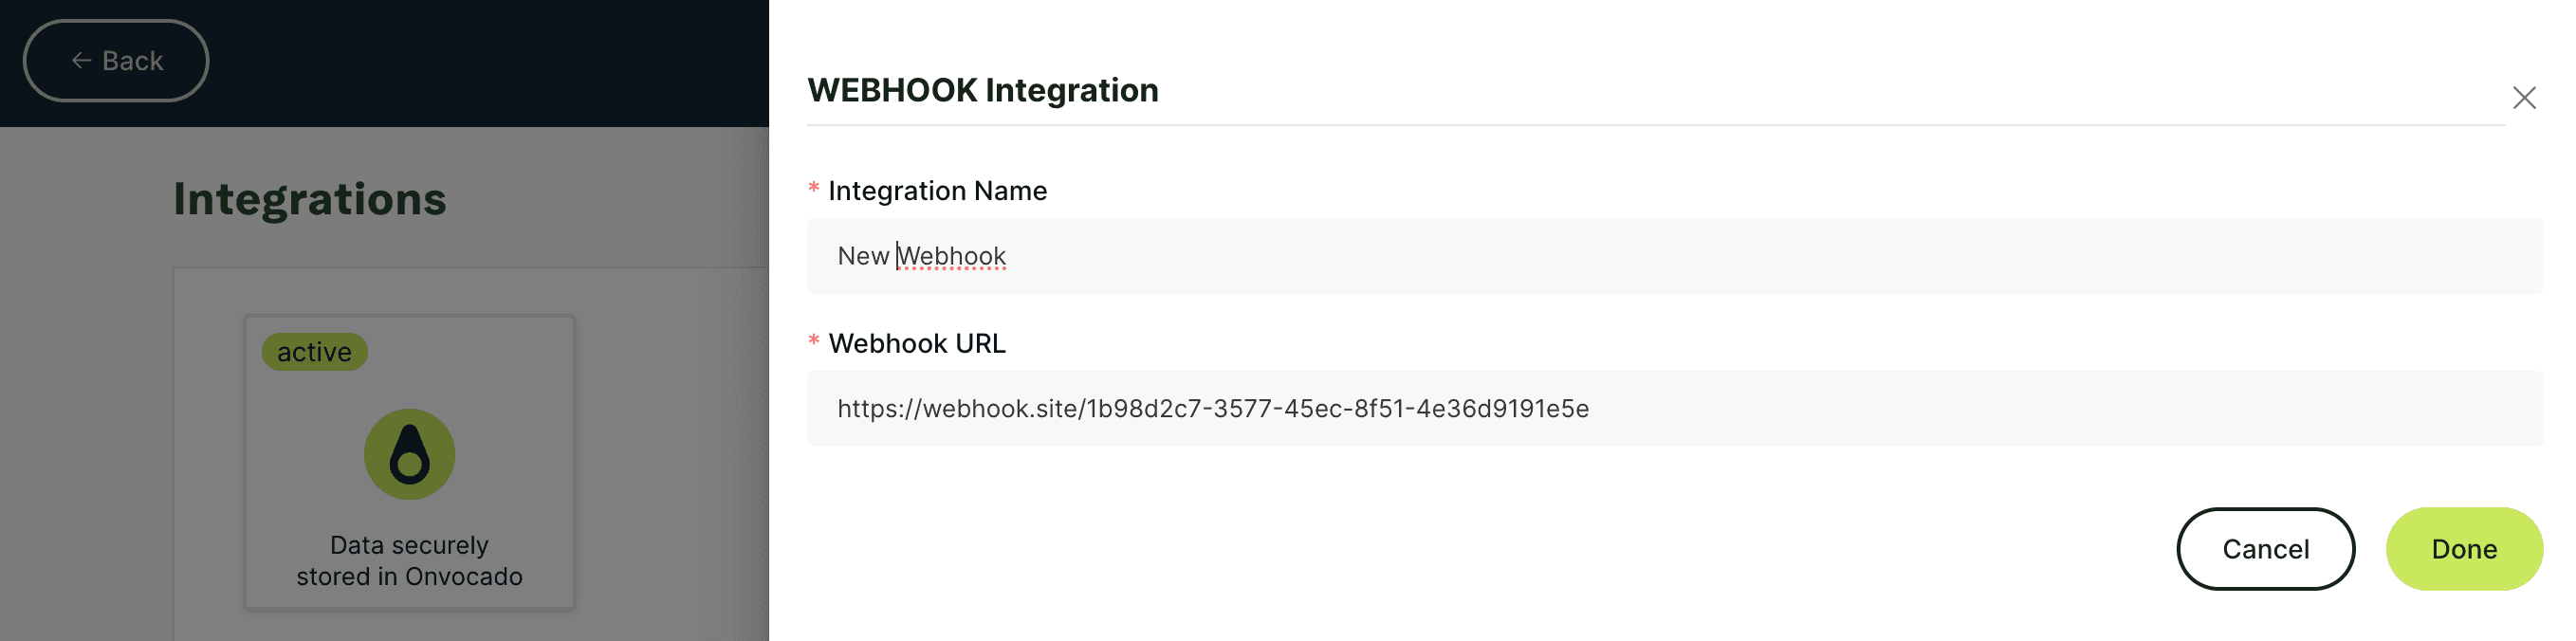
Example:
Webhook Name:Example Webhook
Webhook URL:https://webhook.site/your-unique-url- Save Your Settings:
Once you’ve entered the name and URL, click "Save" (or "Next", if that’s the option available) to confirm your settings.
Step 3: Understand How Webhooks Work in Onvocado
Every time a visitor interacts with your campaign and submits an answer, Onvocado will send a POST request to your specified URL. This request will include data collected from the visitor’s response. Here’s an example of the JSON payload you might receive:
{ "first_name": "John", "last_name": "Doe", "email": "john.doe@example.com", "phone": "+1234567890" }
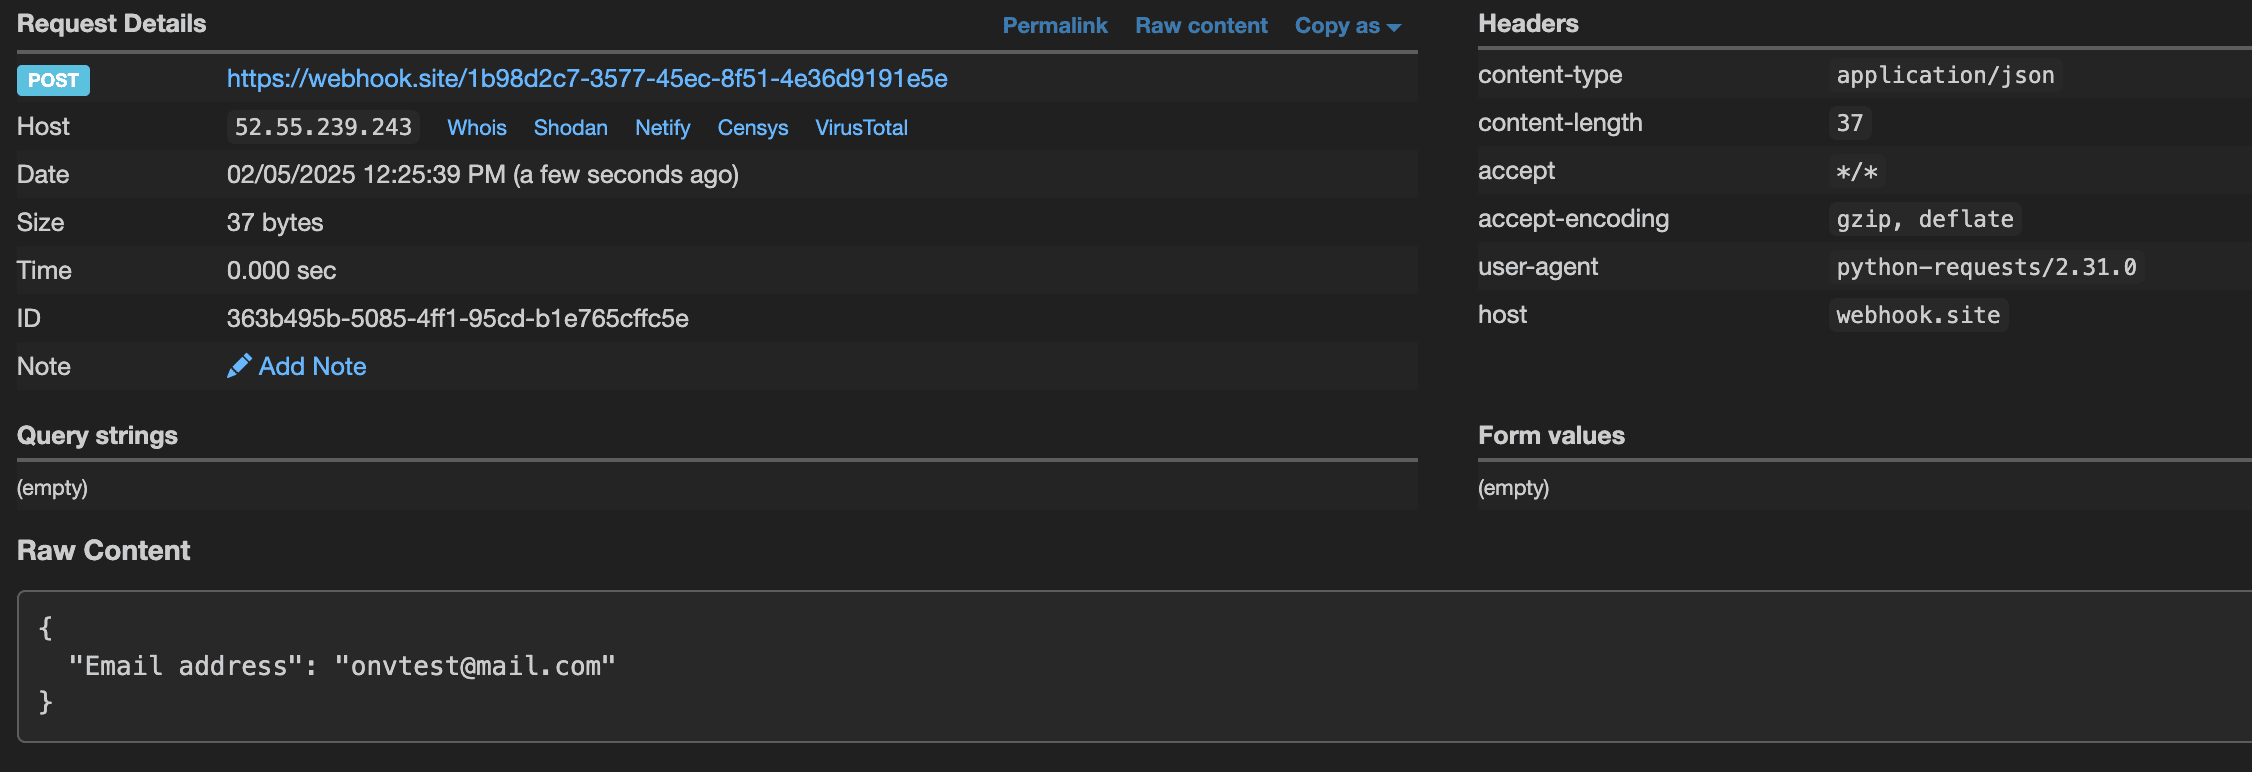
Note: The data structure may vary based on the specific fields you have set up in your campaign. Every input field that a visitor answers is mapped and sent as part of the webhook payload.
Step 4: Testing Your Webhook Integration
After setting up your webhook, it’s important to test that everything is working correctly:
- Trigger a Test Submission:
Visit the preview or live page where your campaign is active and complete a test submission. Ensure that you’re filling in all the necessary fields to trigger the webhook.
- Monitor the Endpoint:
If you’re using webhook.site, go back to the website and refresh your unique endpoint page. You should see a new log entry corresponding to the test submission.
- Verify the Data:
Check that the received data matches the input from your test submission. This confirms that your webhook integration is correctly sending real-time updates from Onvocado.
That’s it! You now have a fully configured webhook for your Onvocado campaign, ensuring that you receive immediate updates with every visitor interaction. If you run into any issues or have further questions, feel free to reach out to our support team at support@onvocado.com.
Happy integrating!