Installing Onvocado on your WordPress Website

A Detailed Tutorial on Installing and Configuring the Onvocado Plugin for Your WordPress Site

July 04, 2024

Need to run your site on WordPress but want to boost engagement effortlessly? Onvocado allows you to engage visitors, collect valuable data, and enhance user experience—all without touching a single line of code.

How Onvocado makes your life easier:

  • Effortless Engagement: Onvocado helps your website visitors achieve their goals with a customization options that drive interaction and collect valuable data. This tool is perfect for segmenting your audience and reducing cart abandonment rates.
  • Data-Driven Insights: After interactions, Onvocado stores valuable data, enabling you to conduct in-depth analyses and refine future marketing campaigns.
  • Customizable Forms: Create eye-catching forms that seamlessly integrate with your site's design, helping to retain customers and gather additional information.
  • User-Friendly Campaign Builder: Define your campaign’s character easily using Onvocado’s intuitive tools designed for busy marketers.
  • Platform Agnostic: Works on any web platform. Just place your custom embed code or deploy it using Google Tag Manager.


In this guide, you’ll learn:

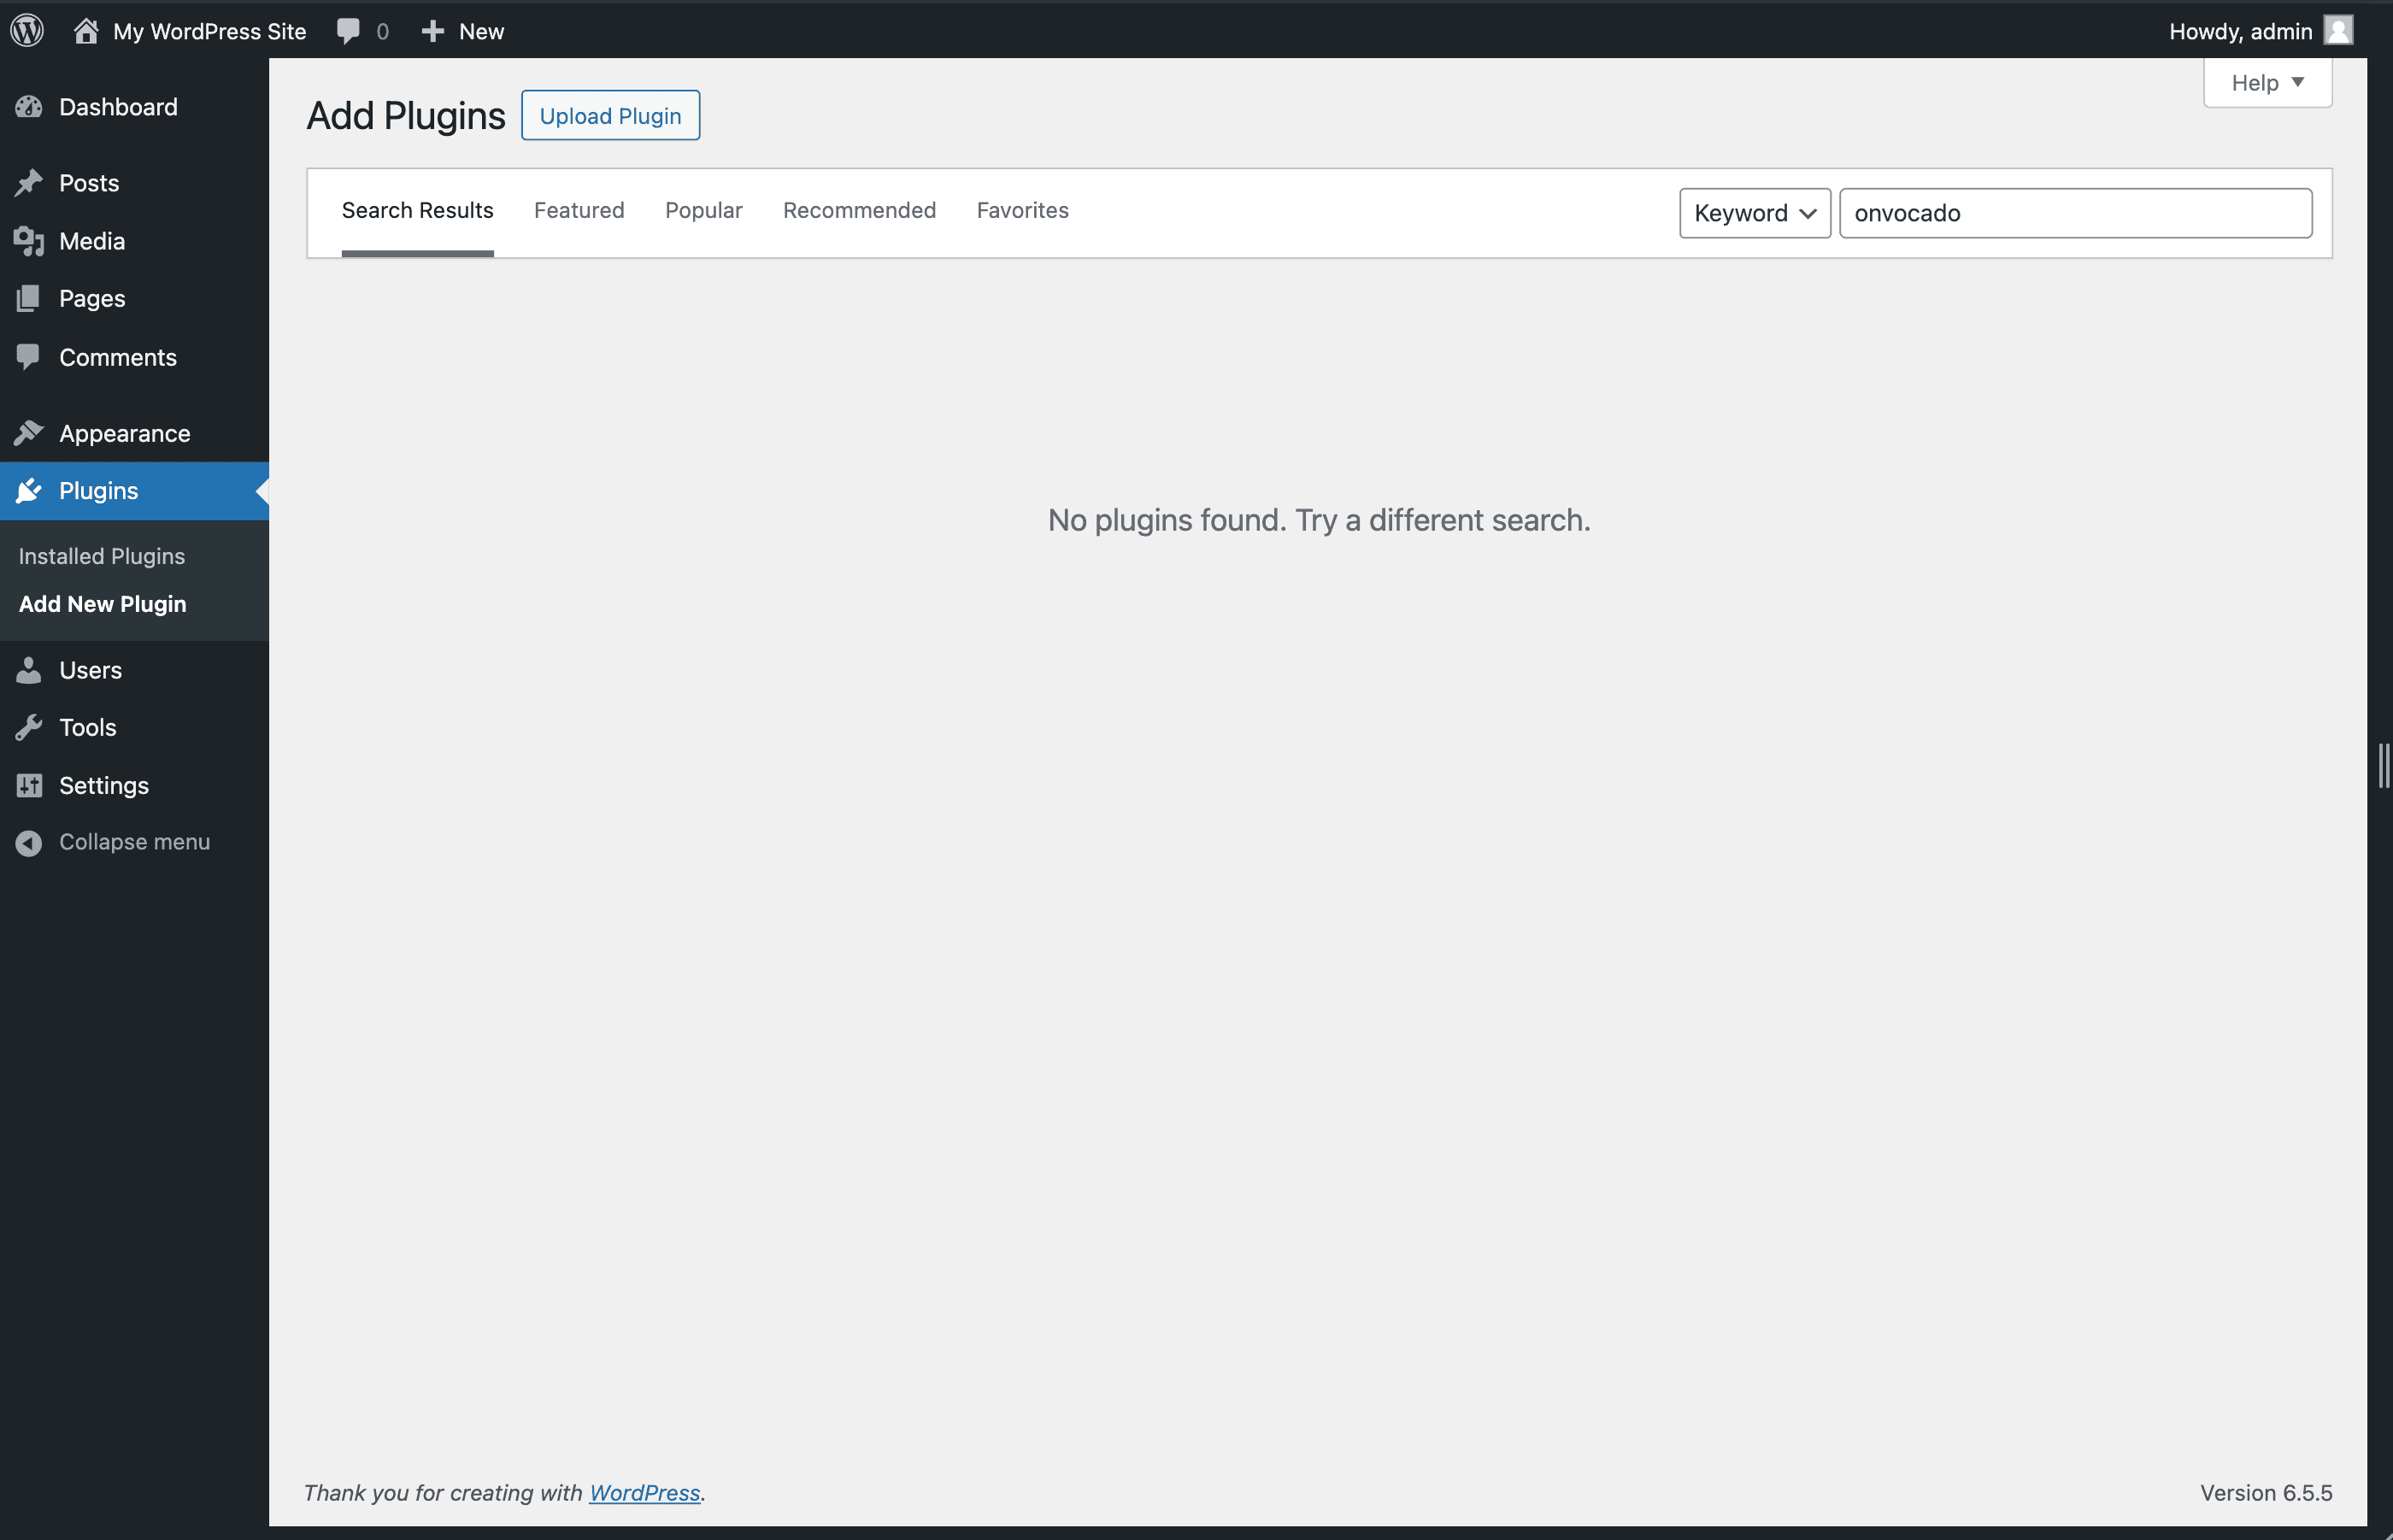
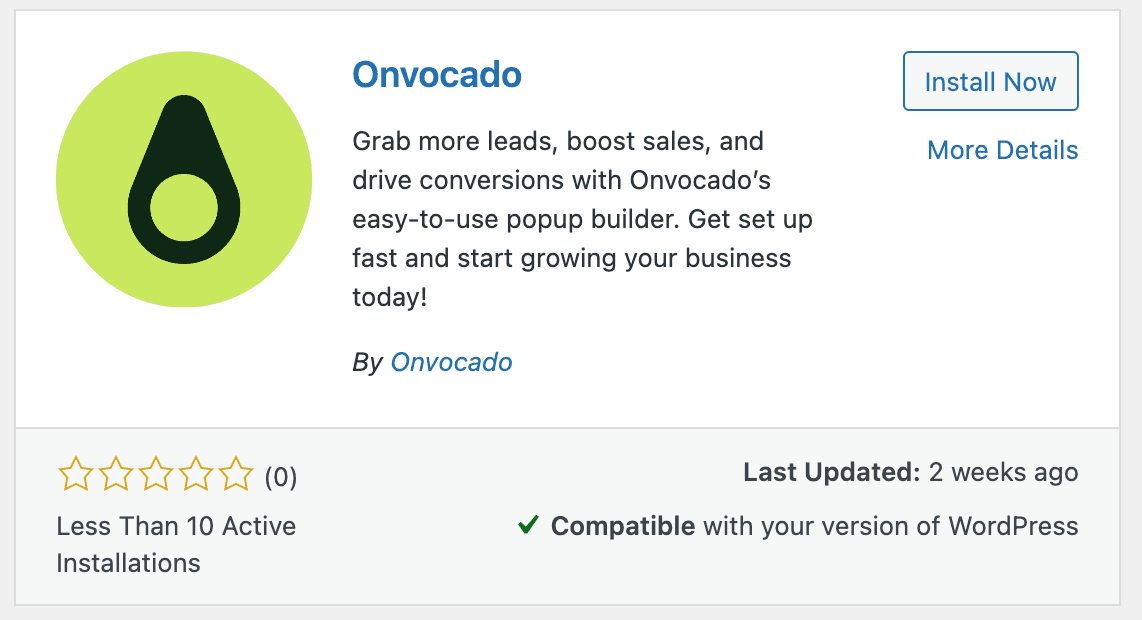
  • How to install and activate the Onvocado plugin
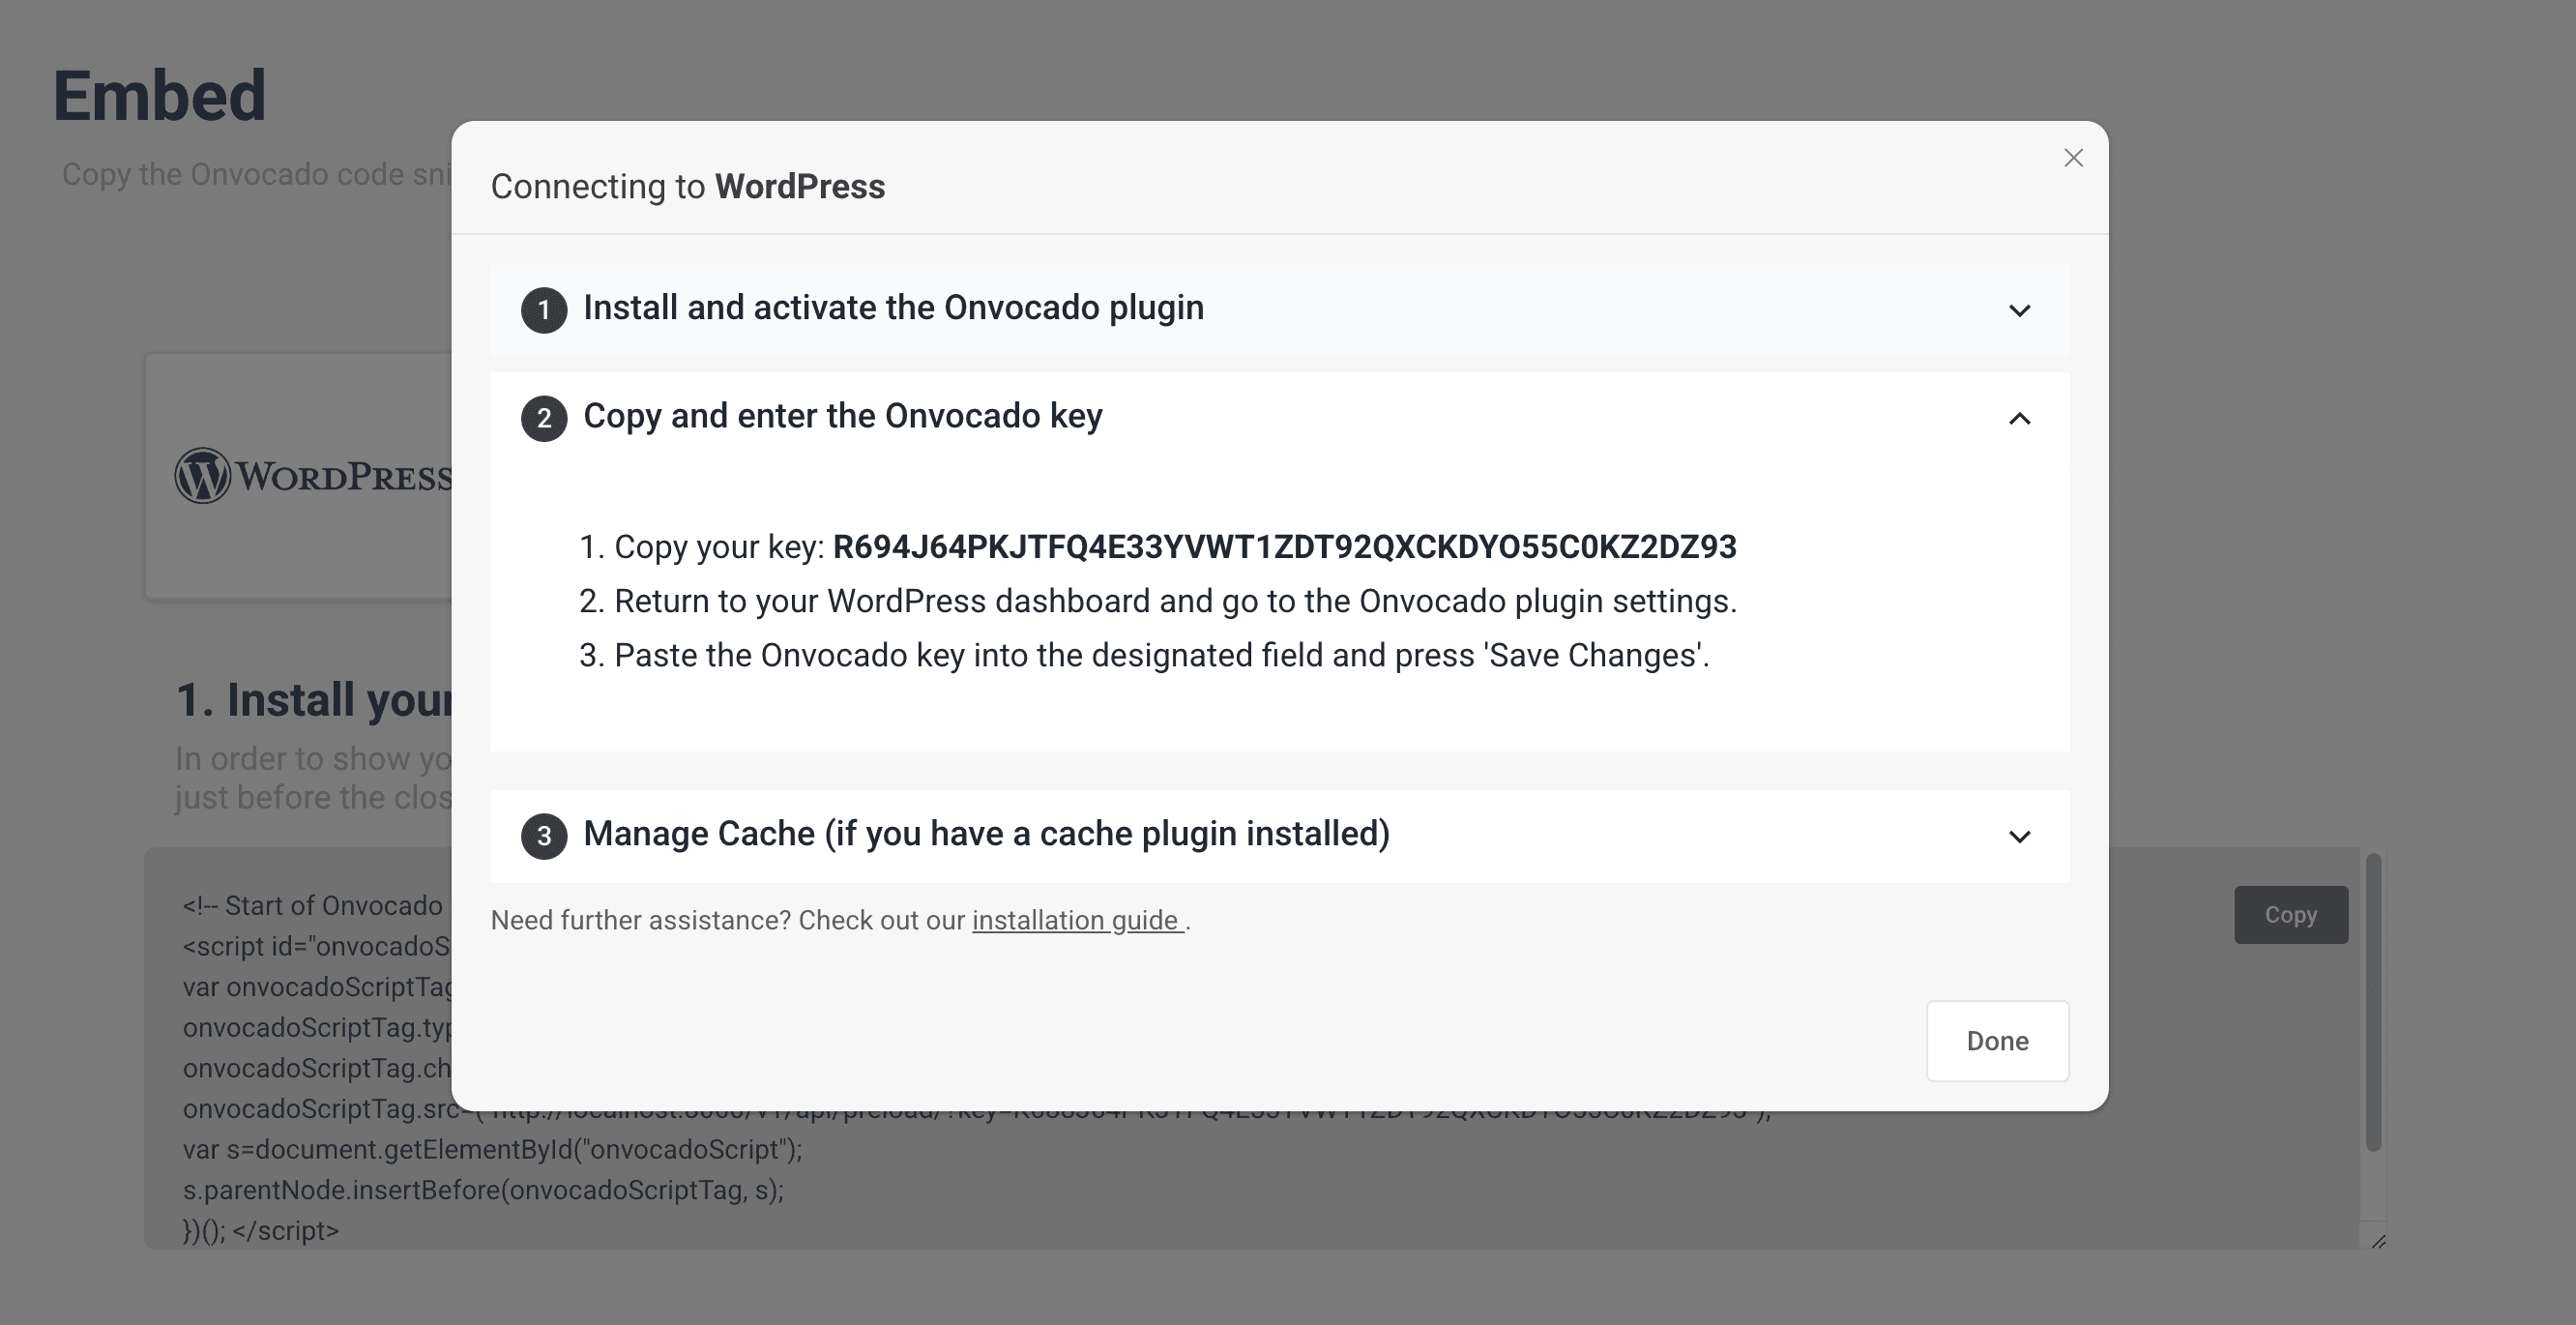
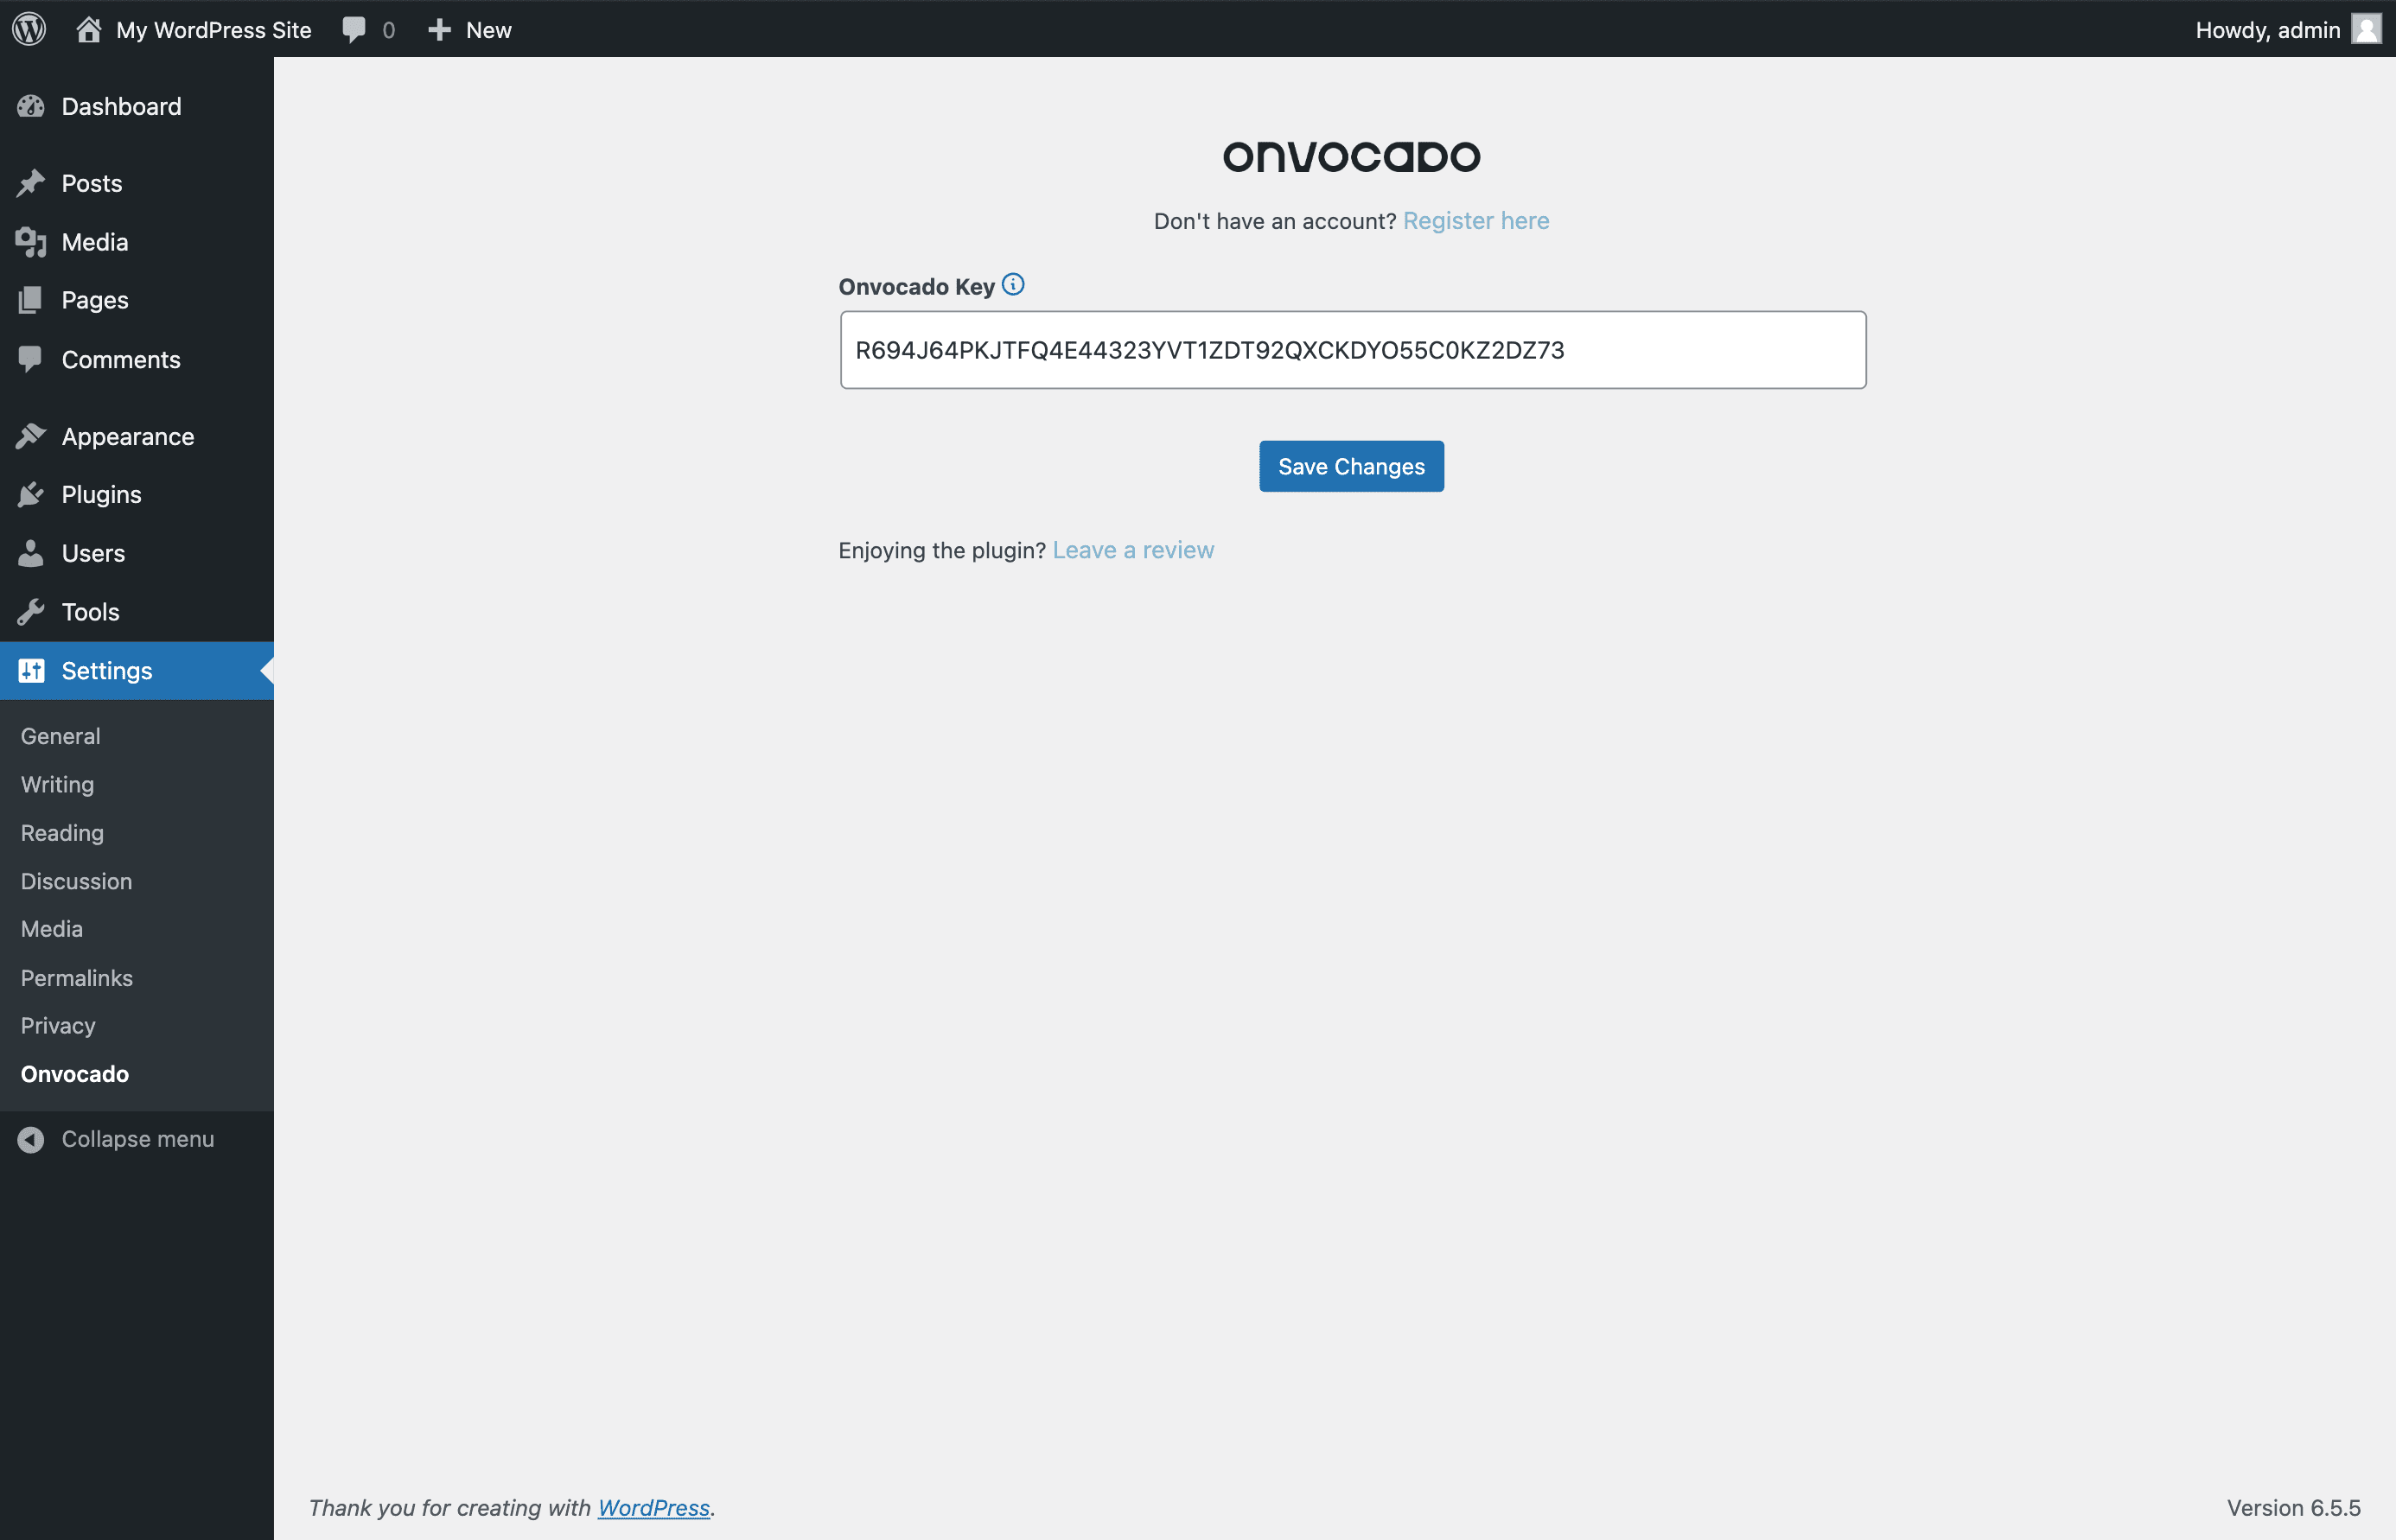
  • How to generate and enter your Onvocado key
  • How to manage cache settings for optimal performance
  • Additional tips for maximizing integration benefits

Install and Activate the Onvocado Plugin

Go to your WordPress dashboard. Navigate to the Plugins section on the left-hand menu and click Add New.

Search for 'Onvocado'. In the search bar, type Onvocado and press enter.

Screenshot 2024-07-05 at 16.05.18.png

Install and activate the plugin. Click Install Now next to the Onvocado plugin, then click Activate.

64b94ad6147ed104a9744c8a_5e61323f6f0e68a50f92d0bc_5d8a2c34ec3f95f5f482a9d2_Screenshot%25202019-09-24%2520at%252016.43.49.png

Copy and Enter the Onvocado Key

Copy your key. Log in to your Onvocado account and navigate to the "Embed" section. Click on the Wordpress logo and Copy the key provided in the second step.

wp_3.png

Enter the key in WordPress. Return to your WordPress dashboard and go to the Onvocado plugin settings. Paste the Onvocado key into the designated field and click Save Changes.

wp_4.png

You're all set!

Manage Cache (if you have a cache plugin installed)

Add Onvocado domains to the cache ignore list. Go to your cache plugin settings and add the following domain to the ignore list: 

  • https://on.onvocado.com

Purge your website's cache. Clear the cache to apply the new settings and ensure Onvocado works correctly.

Additional Tips for Optimal Integration

  • Regular Updates: Keep both your WordPress and Onvocado plugin updated to ensure compatibility and access to new features.
  • Check Compatibility: Before installing any new plugins, check their compatibility with Onvocado to avoid conflicts.
  • Documentation and Support: Refer to Onvocado's official documentation and support for any specific issues or advanced configurations.

Wrap-Up

Following this guide, you can seamlessly integrate Onvocado with your WordPress site, enhancing its functionality and providing a better user experience. Remember to keep your plugins updated and refer to the official documentation for any advanced configurations.